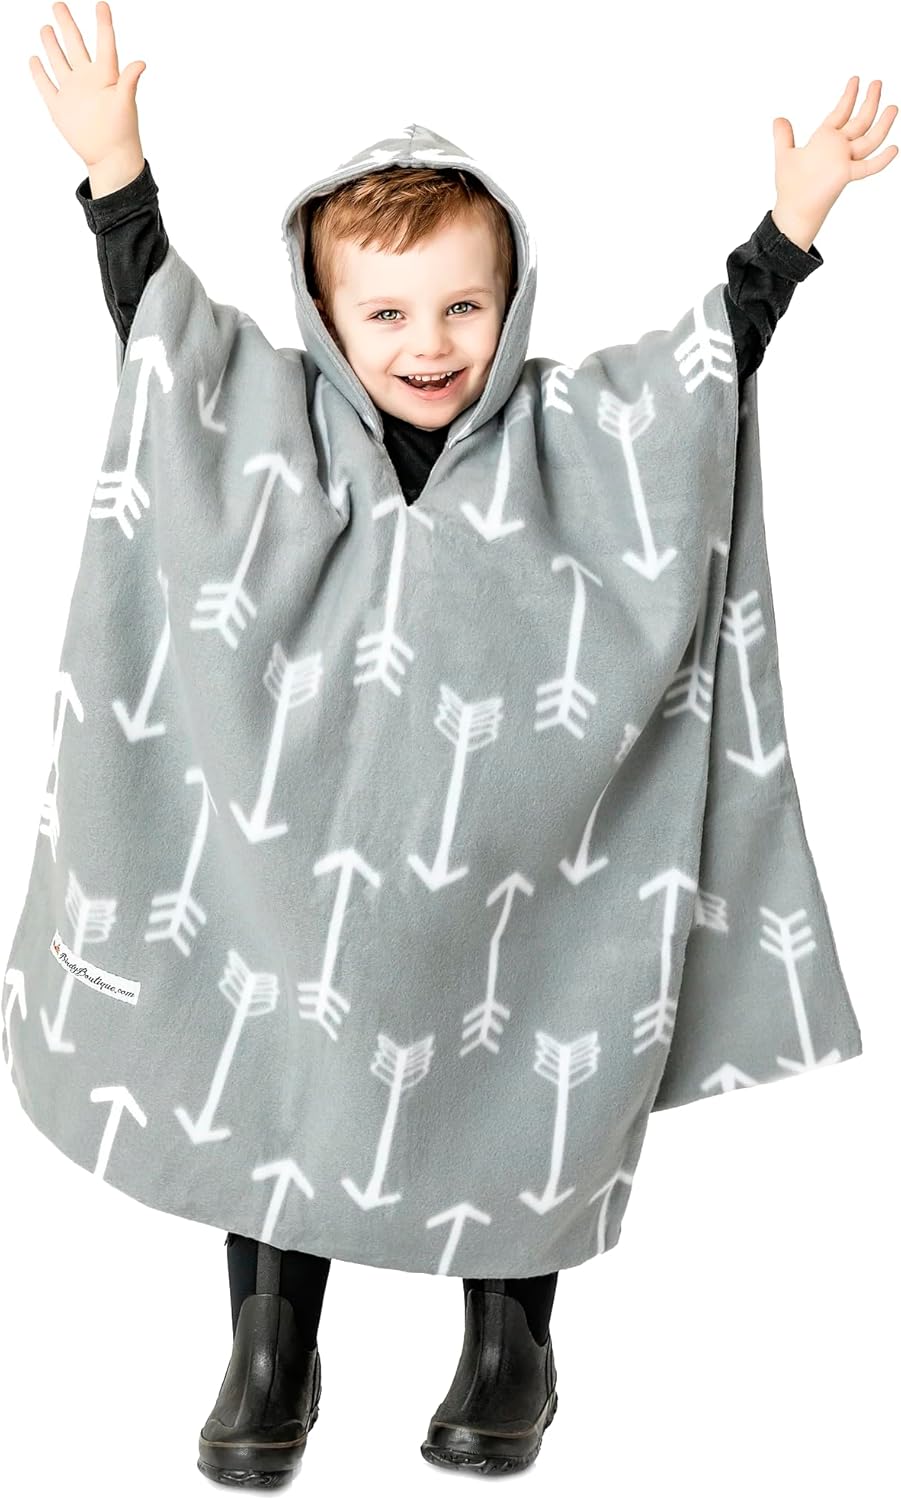
Kids Car Seat Poncho with Grey Arrows, Reversible Warm Blanket, Safe Use Over Seat Belts, Winter
FREE Shipping
Kids Car Seat Poncho with Grey Arrows, Reversible Warm Blanket, Safe Use Over Seat Belts, Winter
- Brand: Unbranded

Description
Disclaimer: Fabric was provided to me free of charge by Shannon Fabrics to write about. I will be honest that youworkingwith cuddle fabric can be difficult if you are abeginner. I recommend getting a few other projects under your belt before working with cuddle fabric. Car Seat Poncho Pattern Tutorial Step 1a – Assemble the pattern and cut out pieces – body Most parents of young kids know bulky winter coats are not safe to use with car seats. So how do you keep your kids warm without needing to remove those heavy winter coats? With a car seat poncho. I’ve taken the tutorial from PatternShmattern and modified it slightly based on what I’ve done. The first one I made I followed her steps exactly but I didn’t like how awkward it was for me to get the hood attached. I came up with a slightly different method for achieving the same result so hopefully it works for you! Free Sewing Pattern: This child Car Seat Poncho Pattern is perfect going out and about – it’s so soft and comfortable like wearing a favorite blanket! Free pdf pattern and step by step picture tutorial included to make this cute and functional cape. Cut an 18” x 18” square out of your fleece fabric. Fold the edges over and hem them (about an inch). Then fold the hemmed edges in toward each other with the pretty side of the fabric on the inside. Then sew across the folded edge.
Now it’s time to take the 2nd square and place the Poncho front V Negative on the top corner and cut it out (seepicture). Then with the frontpiecewe’re going to take one more additional step of taking out ruler and rotary blade cut the square in halfusingthe bottom of the V and bottom corner to line up your ruler, making two triangles. That said, you could make one every year or two that is the perfect length for your child. You just cut the circle to the length you want the poncho to fall to (ie. measure to knee and use that number- if it’s 15″ then you cut to 15″ instead of 23″). STEP 9. Sew hood halves, flip, and top stitch. Sew hood halves together leaving a 2-3 inch opening along the bottom (base) of the hood. Flip the hood halves out and pull the edges and corners out with your fingers and/or pins. Top stitch the hood halves just like you did the body of the poncho. Slow down when you get to the opening and use your fingers to match up the edges. Do this for the other half as well. Step 10. Sew Hood Pieces Together Please share your creations with us! We hope that you enjoyed making this project and came up with some great fleece combo ideas! The possibilities are endless; think baby shower gift, kids birthday gift, Christmas gift, etc. Which patterns and print combinations will inspire you? STEP 6. Sew around the hood opening. Choose a loose zig zag stitch for this part. All you are doing is closing up the two layers so that it is easier to sew the hood on. You will have to do a lot of shifting of the fleece to ensure that the layers stay even. If it’s easier, go ahead and pin to keep the layers in place. I usually start this about an inch down from the bottom of the opening and go up and around. I sew right over that same inch on the bottom to make sure there is no unraveling. Step 7. Cut Out Hood PiecesLay out the fleece on a large surface, smooth it out, and measure (twice!). Mark the cut points with a removable ink pen or chalk and cut 2 rectangles, 38 in x 28 in each. The great thing about this poncho tutorial is that the pieces don’t have to be perfect, they don’t have to perfectly align and you won’t even see a difference. Step 3. Pin Body Pieces Finally, weave in the ends. Since I used three strands of yarn, I did have a lot more ends to weave in. It was worth it though! I have a feeling a LOT of you are going to be making one of these car seat ponchos for toddlers for your little one, so be sure to send me pics or tag me on social media! (@RealityDaydream) …I can’t wait to see how yours turns out! After you grab the pattern print out your desired size. I suggest size 2 for children 6 months to 24 months, size 4 for sizes 2T-4T and size 6 for 4T-6. In my opinion the height chart in the pattern is more accurate than the suggested ages. Assemble the pattern according to the directions in the pattern tutorial. First, you’ll want to go to stitchuponatime.com and grab the free Riding Hood car seat poncho pattern.
I opted to make a very generously sized hood for this poncho. It is 16 stitches wide(meaning I started with a chain of 18 stitches), and 22 rows long. After finishing your rows for the hood, slip stitch the top together by folding the hood piece in half and seaming one side together from the edges/corners to the fold. When finished, leave a tail of 4-6 inches if you would like to use it to attach the Pom Pom later. Attaching the hood I prefer to use the car seat poncho once my child has more mobility. Car Seat Ponchos for Toddlers and Kids Place the pattern on fleece and pin if you would like. I use a rotary cutter but you can also use scissors to cut out the shape. And cut! If you are using two different patterns of fleece, cut out 1 (double) pattern of each design. Step 8. Pin Hood Pieces To make the button loops, I did a simple chain stitch with a single strand of the tan yarn and a much smaller crochet hook. When all four were done, I tied the ends together around a stitch in the poncho body, so that each loop could slide easily and would be in the right place. I needed to cut a hole for the head, but I wanted to be really careful not to make it too big… because that can’t be fixed! You can always make a hole bigger later, but smaller? Not so much!Thankfully the best search engine to ever be created (at least for visual people) was publicly open by now and I stumbled upon this tutorial for a fleece car seat poncho. I made one for each big boy and once Mercedes got big enough I made one for her. I also made one for our niece and will probably make one for our other nephews as well at some point soon. They make life so much easier! There is no fabric between the child and the straps so safety isn’t affected and because it is worn over the head it also isn’t going to fall off like a blanket could. hood pieces of fleece 10in x 11in; if choosing different prints, make 2 hood pieces of each print (We love JoAnn Fabrics, amazing coupons!) Howdy friends! I originally posted this Car Seat Poncho tutorial several years ago. But it’s been such a popular post, and SO MANY of you have made these for your littles over the years… I thought it would be worth re-posting!! PLUS, my girl Cypress was sooooo itty-bitty and not-yet-sassy! For this tutorial, you need to use two layers of fleece. If you’re in an area with warmer winters, you could probably do only one layer. It will change how you sew your poncho slightly, but it won’t be a problem.
STEP 12. Sew on decorative trim. Line up the trim on the top stitch on edge of poncho body. Slowly sew down the middle of the trim onto the top stitch on poncho by using your fingers to feed it through evenly. This will take time and if it makes it easier for you, pin first. Continue all the way around and overlap by ¼ inch or so when the ends of trim meet to prevent a gap. Follow instructions. Step 13. Decorative Applique Note: MAKE SURE THAT THE RIGHT SIDES ARE TOGETHER AND IF YOU HAVE DIRECTIONAL PATTERNS MAKE SURE THEY ARE FACING THE RIGHT WAY UP WHEN YOU CUT. IF YOU DON’T DO THIS YOUR HOOD WILL NOT GO TOGETHER CORRECTLY. You could use anything though! You could even use two layers of fleece to make it warmer, and tie the ends like those ‘fleece knot blankets’ to make a no-sew version! Buy two pieces of fleece in the sizes you need. This will ensure your poncho is nice and warm as well as reversible! Step 2. Fold fabric
Step 4c – Sew the front pieces together.
rectangular pieces of fleece 38in x 28in; choose 2 different prints if you want the reverse to be different (about 1.5 yards total) This super hero cape goes around the arms and can be reversed to be a car seat blanket for baby! Get the tutorial here.
Thank you so much for taking a look at this project! I hope it helps you crochet whatever size poncho you’d like and that you’re own project turns out amazing! Feel free to let me know how it goes or reach out if you run into something I didn’t cover well enough. I’m happy to help and update the information too! NOW it’s finally time to cut out the circle of fleece! Cut it slightly smaller than the existing hole, because I’m going to hem them over too. If you aren’t sure you’ll have the time to finish a poncho before the cold sets in, consider supporting a small business on Etsy. My kids would happily go naked in 60 degree weather so I haven’t made a lighter weight coat, but I’ll give you my advice here. Here’s a few products in my store that you might enjoy! Keep scrolling for the poncho tutorial! DIY Kids Carseat Poncho SuppliesAnd while we are on the topic of pom-poms, please know that you can make them any way you want. Although there are special pom-pom makers, I still prefer to use a simple homemade pom maker like the one in this tutorial. The pom poms I made for this crochet poncho were all made on a 1½ inch form, but for the pom-pom that was going on the hood I wrapped the yarn several more times so that it would be a bit bigger. Finishing With right sides together, pin and sew together. Take extra care to line up the seams at the top. Take the two exteriorpiecesand sew together using a .5 inch seam allowance. This can be done with a walking foot to help with the bulk especially just over the ears. Repeat with the lining. Step 5 –Sew the hood exterior and lining together I would go with a single layer fleece. You can finish all of the edges with bias tape. It would be easy to do and be similar to those zippered fleece coats most kids wear for warmer cold days. STEP 7. Cut out hood pieces. Fold the fleece in half, right sides together, so you have two layers. I used 23″. From the corner of your fabric where all four corners are folded, measure out your 23″ (or whatever) and mark all along the curve.
- Fruugo ID: 258392218-563234582
- EAN: 764486781913
-
Sold by: Fruugo